Using Killing Jars and Steps to Pinning an Insect

How are insects acquired for pinning and study? This section focuses on the process of collecting and pinning insects.
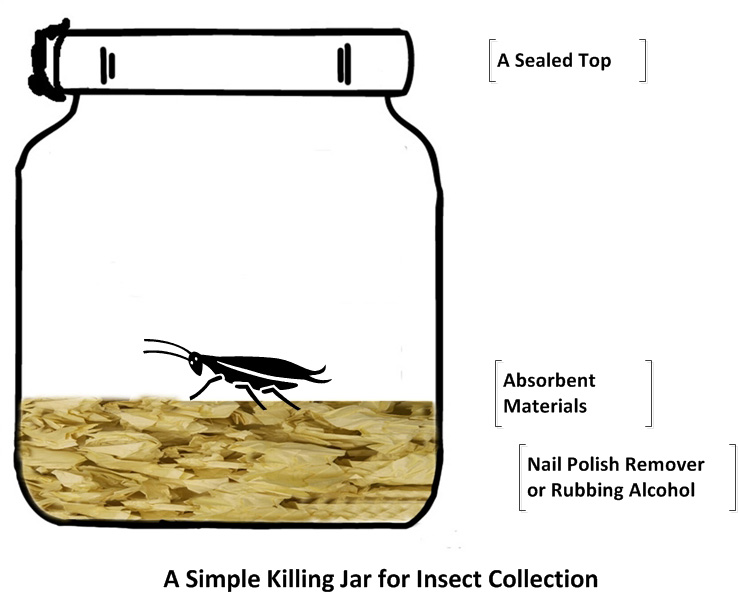
Using "Killing Jars" for Insect Collection
The following image depicts the basic elements of a killing jar. There is a glass or plastic bottle with an insect toxin (like nail polish remover or rubbing alcohol). Absorbent materials at the bottom hold the toxin away from the actual insect. The insect is placed into the jar for 20 minutes with the top sealed. It should be pinned shortly after the collection while the insect is still fresh.
Other Types of Killing Jars: There are several different types of killing jars for insect collecting. One type uses fingernail polish remover or rubbing alcohol soaked into absorbent materials at the bottom of the jar, which is capped and properly labeled and handled. Another type involves the use of soapy water for beetles and grasshoppers. Those who are close to a freezer may use plain jars, which they put into a freezer. It is a good idea to keep the jar in for at least an hour to ensure the insect's demise. The insect will have to be thawed before pinning. The idea is to kill the insect as quickly and painlessly as possible, without having the process damage the insect's physical structure or coloration.
Steps to Pinning an Insect
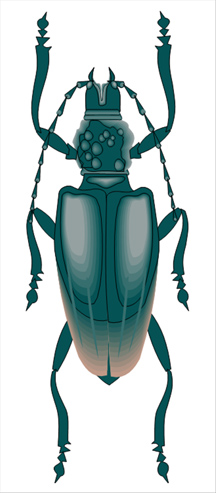
Directions: The following activity offers some basic steps to properly pinning an insect. (The insect illustration is a royalty-free illustration from the Microsoft Office Clip art collection.). Just drag the proper step from the left column into the proper space in the right column.

 |
After collecting the insects, you will need to pin them on the same day while they are fresh and “relaxed”. Drag items from the left column to the correct order in the right column. |
|
|
||
Note: Some insect images are captured in-the-wild, with the insects living and functioning in their native habitats. Those types of images capture other types of data in addition to morphology--such as insect niches, interactions, and behaviors.
Pinning an Insect
(The Shortened Mobile-Friendly Version)
Directions: Please place these basic steps in the proper order.
|
Move items up and down using the arrows. Click the bottom right arrow to go to the next set. Click the checkmark (available on the last set) to submit all your answers. | |
|
||
NEXT: Learn about some morphological (form and structural) aspects of insects through a digital flashcard activity. Also, see how a 44-step dichotomous key works to identify insects. Look at an open-source insect morphology image. (Click "next page" below, or click the proper page number above.)

